


test
meta title test test
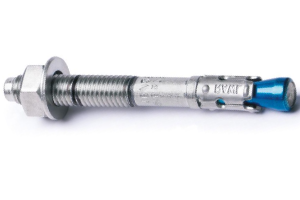
Premium


Caracteristici și Beneficii
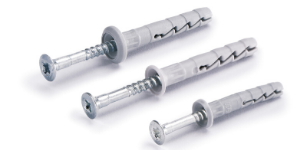
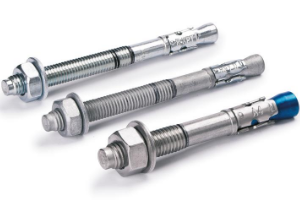
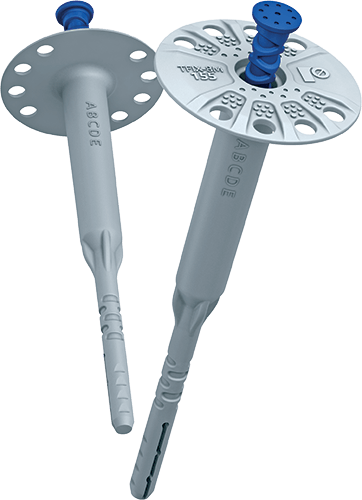
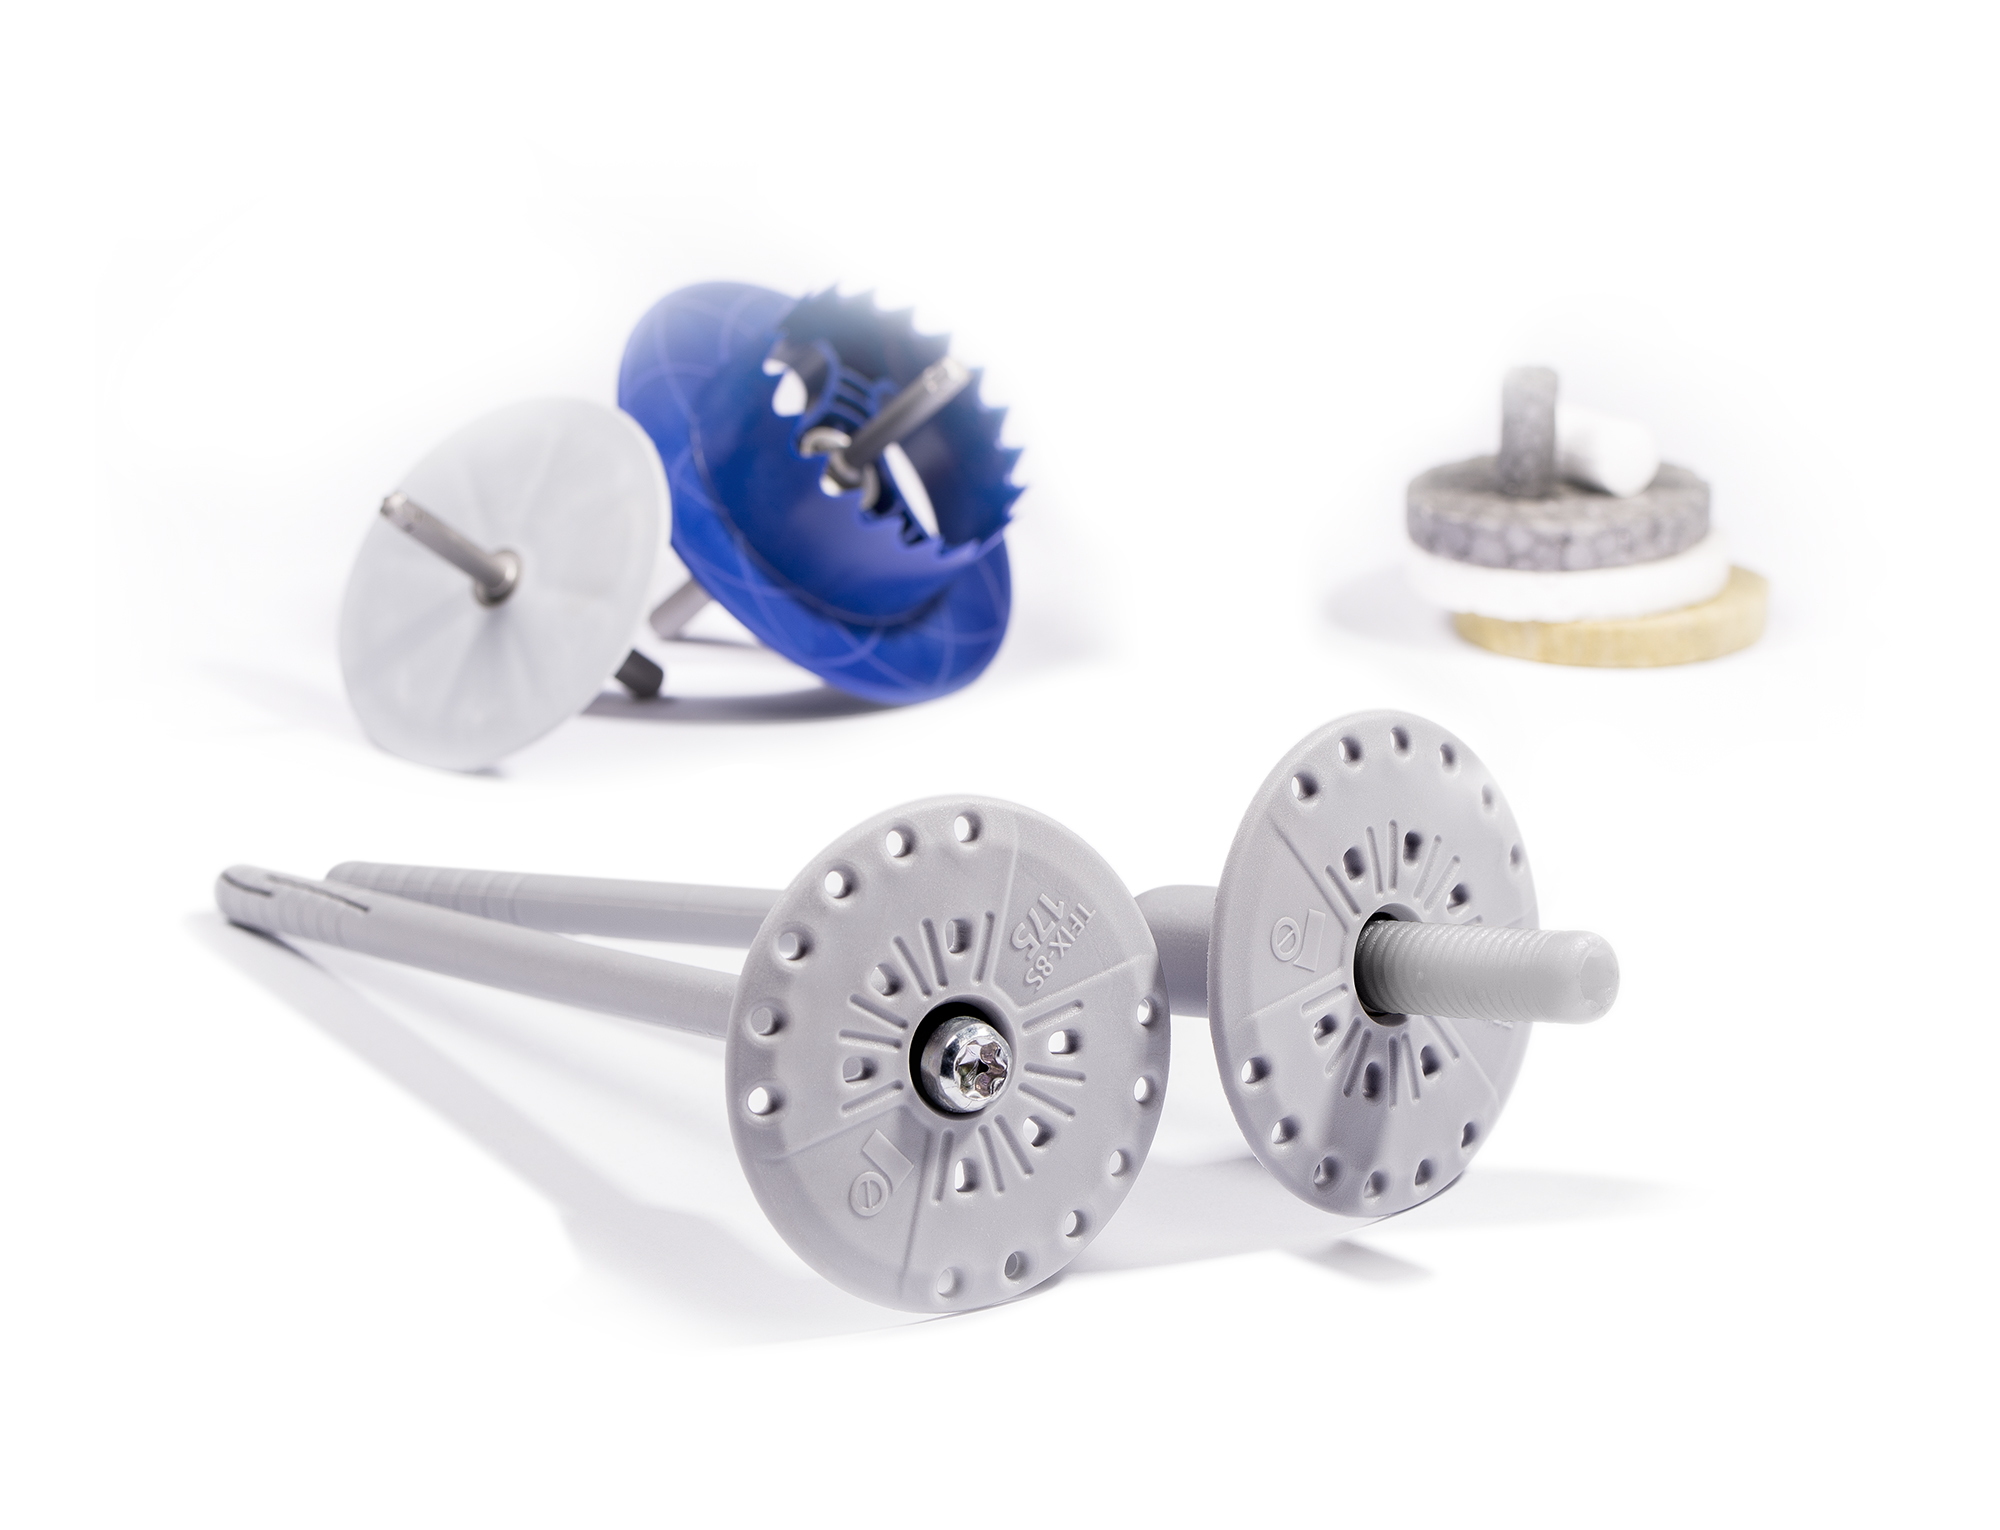
Toate elementele de fixare care țin de siguranță, în beton fisurat și nefisurat
Toate elementele de fixare care țin de siguranță în condiții de sarcină seismică, din categoria C1 pentru elemente nestructurale și din categoria C2 pentru elemente structurale
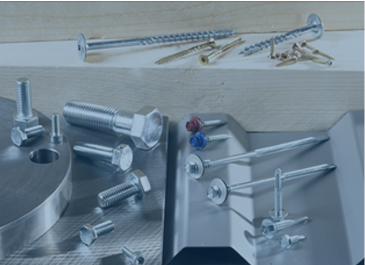
Aplicații
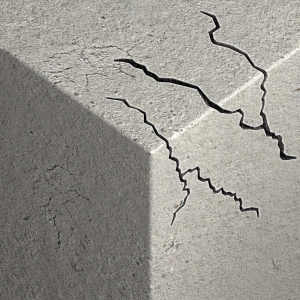
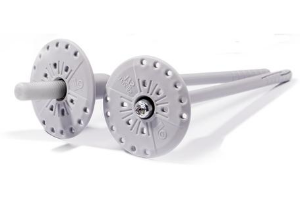
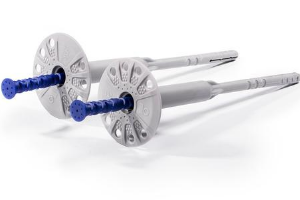
Beton fisurat C20/25-C50/60
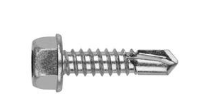
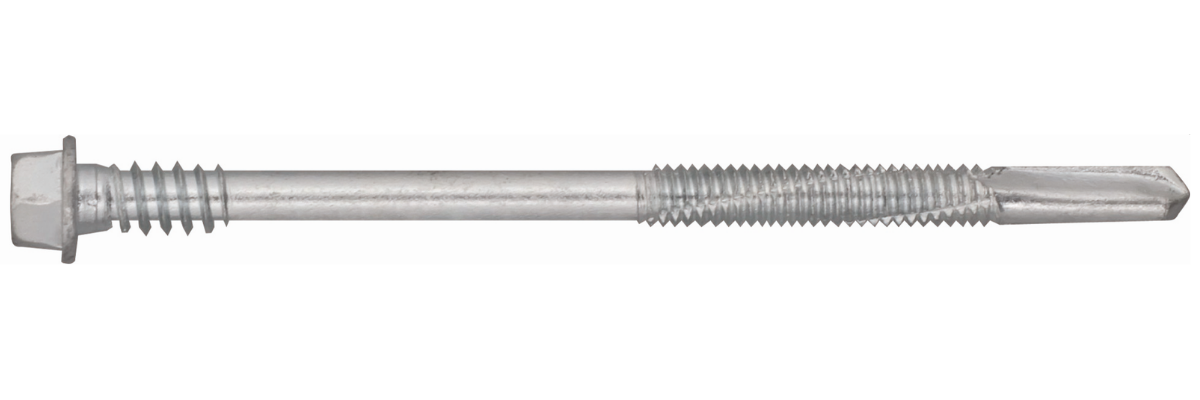
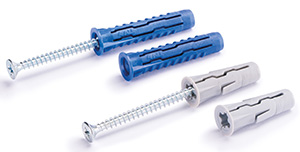
- Material, coroziune Oțel carbonat, zink flake
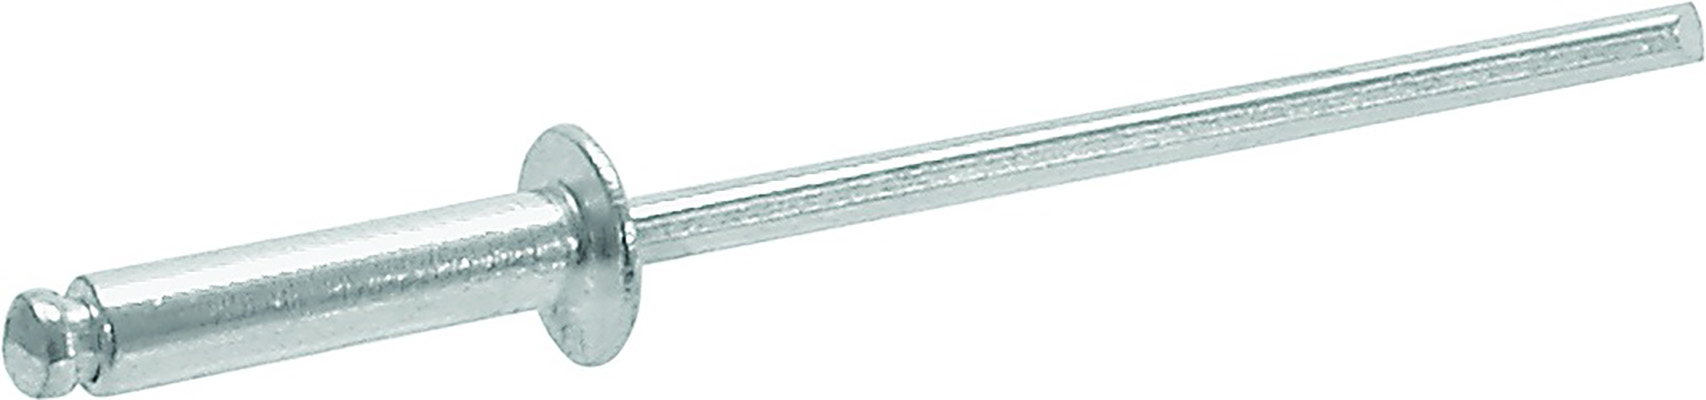
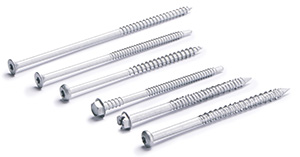
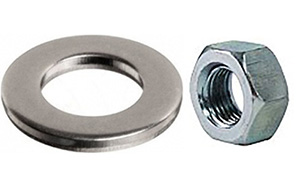
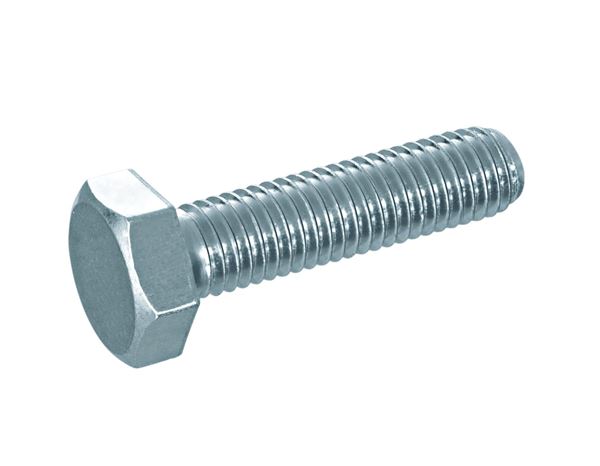
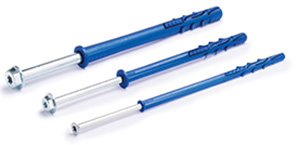
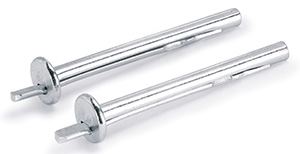
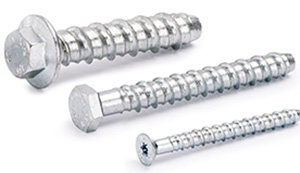
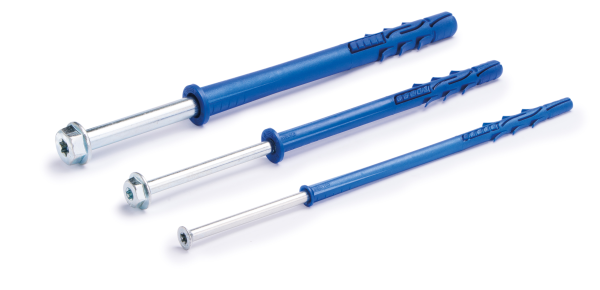
- Configurație cap Cu filet exterior
- Configurație cap Cu filet exterior
- Aprobări / Rapoarte de testare ETA, Seismic, Test la foc
- Materiale de bază Beton (cu fisuri), Beton (fără fisuri)
- Tip de fixare Fixare prealabilă, Fixare prin străpungere
- Clasă produse Ultimate
 Resetează Opțiuni
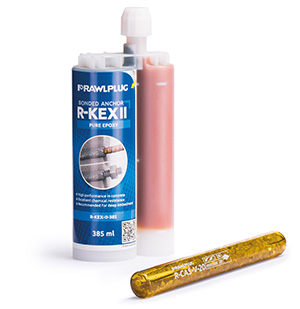
Capacitate cartuș
Bucăți / Ambalaj
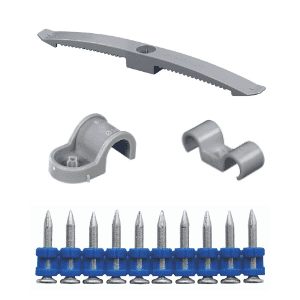
Conținutul coletului comandat

Selectează
Conectează-te pentru a vedea prețurile companiei tale și pentru a plasa o comandă. Contul trebuie să fie validat de echipa noastră.
Preț / Cutie:
De la
Adaugă la favorite 
Certificări


Exemple de aplicații
- Bare de protecție sau balustrade
- Fațade
- Fixări temporare
Informații Tehnice
-

Informații Tehnice
-

Instrucțiuni de utilizare
-

Documente
-

Videos
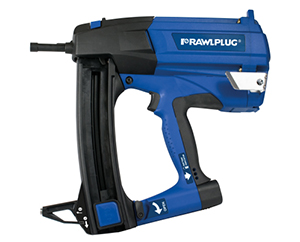
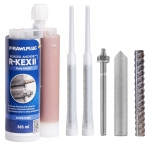
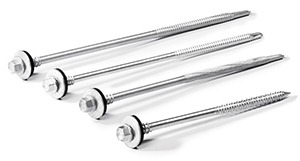
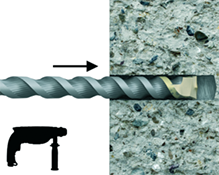
- Drill hole to the required diameter and depth for stud size being used.
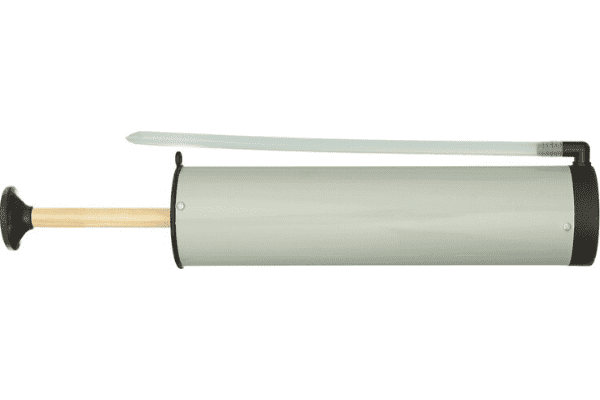
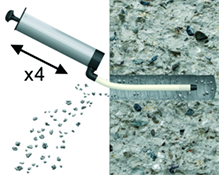
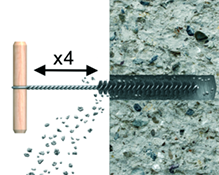
- Clean the hole thoroughly with brush and hand pump at least four times before installation.
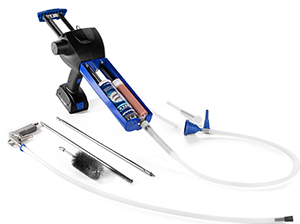
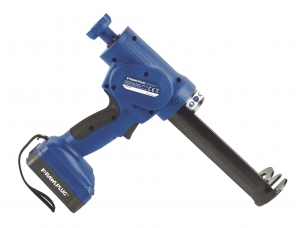
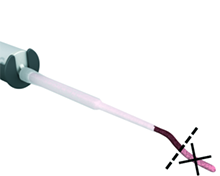
- Insert cartridge into gun and attach nozzle.
- Dispense to waste until even colour is obtained.
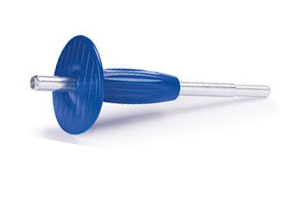
- Insert the mixer nozzle to the bottom of the drill hole and inject resin, slowly withdrawing the nozzle as the hole is filled to 70% of its depth.
- Immediately insert the stud, slowly and with slight twisting motion. Remove any excess resin around the hole before it sets and leave it undisturbed until the curing time elapses.
- Attach fixture and tighten the nut to the required torque.
- Drill hole to the required diameter and depth for stud size being used.
- Clean the hole thoroughly with brush and hand pump at least four times before installation.
- Insert cartridge into gun and attach nozzle.
- Dispense to waste until even colour is obtained.
- Insert the mixer nozzle to the bottom of the drill hole and inject resin, slowly withdrawing the nozzle as the hole is filled to 70% of its depth.
- Immediately insert the stud, slowly and with slight twisting motion. Remove any excess resin around the hole before it sets and leave it undisturbed until the curing time elapses.
- Attach fixture and tighten the nut to the required torque.
img2
img1
1
img3

img3
text imagine test
1.1